Facilitating a Simulation Scenario
A successful simulation activity requires planning, preparation, and effective delivery. Planning is covered on the Create a Course section of the Center’s web site. For a scenario-based simulation, the Center recommends using a tested and proven simulation methodology to deliver the simulation.
A general overview of the elements needed for a successful includes three steps: Briefing, Simulation, and Debriefing.
Briefing
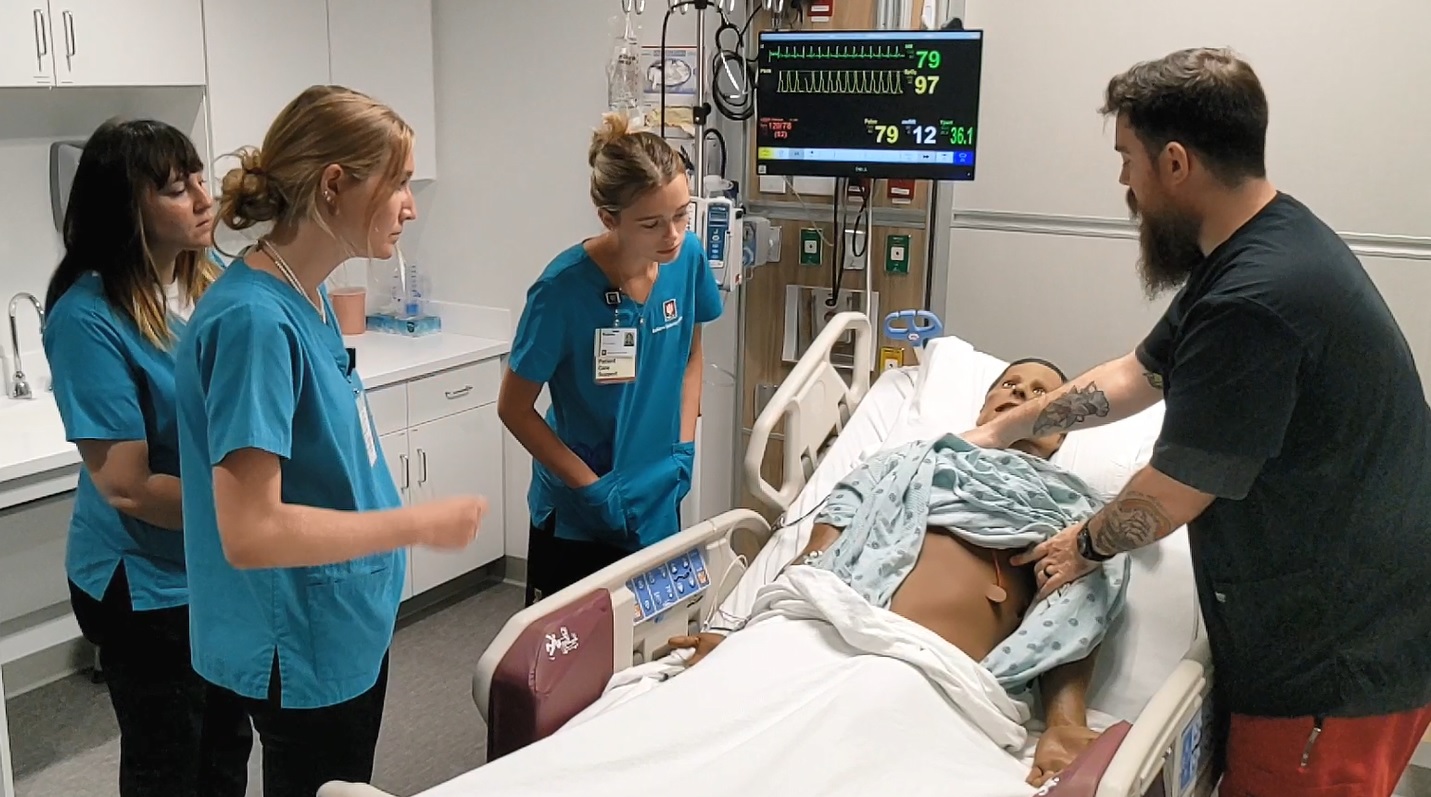
The briefing can be broken down into two smaller parts. First is the technological briefing. Here, learners are oriented to the simulation space and “ground rules” for the event. Features such as simulator capabilities, monitor operations, and other in-room equipment should be reviewed. For learners that have done this several times, this may be just a short refresher. This part of the briefing is usually done by Center staff. The other part of the briefing is provided by the faculty, educator, or instructor for the event. This covers the clinical set up for the case and reviews any relevant content information.
The International Nursing Association for Clinical Simulation Learning (INACSL) has developed standards that can be referenced for many aspects of conducting a simulation, including briefing.
Scenario Case Facilitation
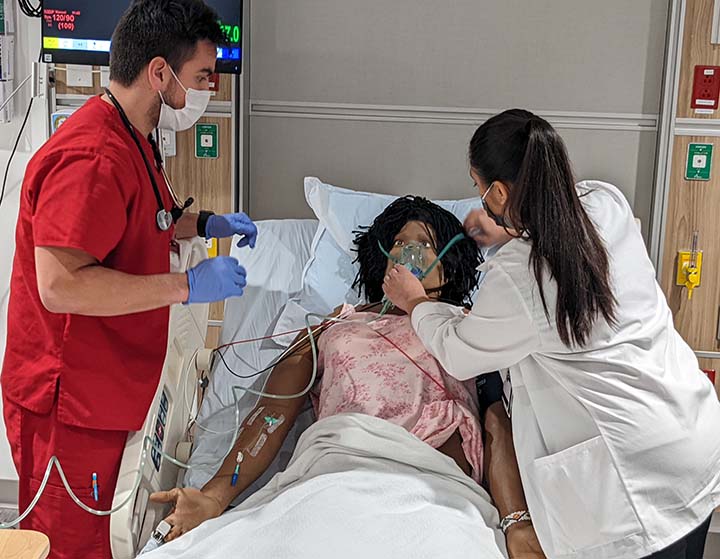
Next is facilitating the simulation case itself. Depending on the goals, objectives, and the learners themselves, different techniques may be used. Facilitation techniques should be determined during the case development process. This could involve letting the simulation run uninterrupted or using techniques such as Rapid Cycle Deliberate Practice.
The INACSL Standards provide guidance on facilitation.
Safety, both psychological and physical, is the paramount priority for all faculty, educators, and instructors facilitating a simulation case.
Psychological safety means creating a learning environment where learners feel safe taking chances. Simulation sessions are designed to push learners to the next level. They get there through experimentation, and sometimes they may fail. Creating a safe learning environment where failure is not a negative is the essence of psychological safety.
Physical safety is also the responsibility of the facilitator. No one’s life is on the line in a simulation, and no one should be injured in a simulation. Simulation facilitators take on the role of Safety Officer in their sessions, always being alert to the possibility of physical harm to the learners. This could come from an uncapped needle left on the bed, improper lifting techniques, or errant use of electrical therapy. The facilitator must be prepared to step in and mitigate the threat to the learners.
Another point about learner safety – simulations can trigger deep emotional responses. Often, the facilitator will not know how the simulation case crosses paths with the learner’s experience. A learner in an end-of-life simulation may have strong emotional reactions if that learner recently had a similar real-world experience in their life. Facilitator should watch for these reactions and be prepared to provide support.
Debriefing
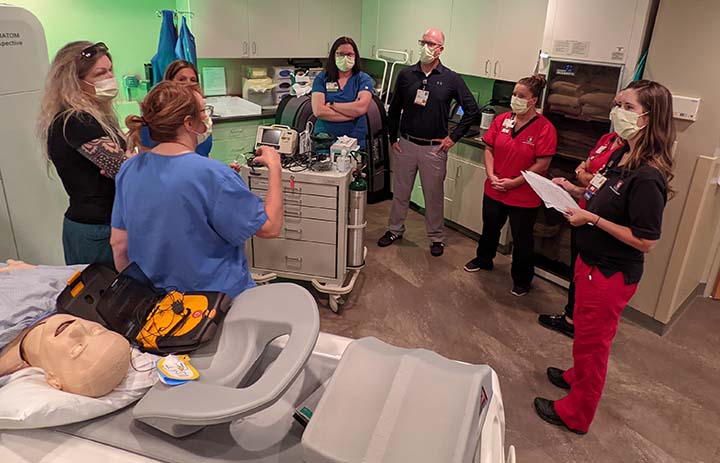
It is the debriefing where learning occurs. It is this reflection-on-action where learners can process the simulation event and make new meanings and understandings of the situation. The INACSL Standards reference debriefing.
Debriefing is what makes simulation successful. It is where the learning occurs. There are many points that make up an effective debriefing.
The Center’s Scenario Template offers these points for consideration:
Use a structure (GAS, DML, 3D, or other)
- Allow for emotional release
- Use Advocacy/Inquiry questioning
- Involve everyone
- Follow your objectives but find out what is important to the learners
- Cover BOTH what went well and what could be done differently
- Ask questions rather than telling
- Watch your time
- Be curious
The idea of covering both what went well and what could be done differently (NOT what went poorly), is often embodied in the Plus/Delta methodology where time is dedicated to both areas. The Plus is what went well while the Delta (Δ - the symbol for change) covers what would be done differently.
Having an organized structure will also enhance a debriefing’s success. The Center promotes the Structured and Supported Debriefing model, commonly called the GAS model for its three stages – Gather, Analyze, Summarize.
Gather:
- Allow for an emotional release. Just asking “How did that go?” will allow learners to release frustrations, excitement, or other emotions that can be referenced later in the debriefing.
- Build a shared mental model of what the case was so everyone knows WHAT happened (not WHY it happened - we will get to that later). Start by just asking the team leader or the first person at the bedside “What did you find?” then build out from there with the other team members
- Create a mental inventory of issues that will help shape the debriefing. Learners will bring out some points in the Gather phase that you may have missed.
Analyze:
- Ask questions, don’t provide a mini-lecture. Questions are the facilitator’s number one tool.
- Use Advocacy/Inquiry questioning technique to get to the root causes of individual actions.
- Follow up on the WHAT happened by asking WHY it happened.
- Balance things that went well which we want the learners to repeat and the things that need changed, just like the Plus/Delta model.
- Don’t short-change high-performing groups. Just because not much needs to change doesn’t mean the debriefing will be shorter. Find out why they did so well so they recognize their positive behaviors and know how to repeat them.
- Cover both technical skills (such as what meds were given or how the airway was managed) AND non-technical skills (such as teamwork, leadership, and communication).
Summarize:
- What are the “take home” point?
- How does this apply to the learner’s world?
- How will continued change be sustained?
Feedback
Feedback is a component of debriefing; however, it can be used as a standalone technique for some simulation activities such as skills practice, especially when the feedback is one-on-one between learner and instructor. There are many tools (such as the SHARP tool) and techniques for providing feedback to learners.
One technique promoted by the Interprofessional Simulation Center a modified version of the Pendleton Model. This model promotes a two-way exchange of information between learner and instructor while providing time for reviewing what went well and what could be done differently, which is based on the Plus/Delta model.
Instructor | Learner |
“Are you ready for feedback?” | Responds |
“Tell me, what went well for you in this exercise?” |
|
Listens | Responds with positive actions about the experience. |
Summarizes learner’s comments. Adds additional positive notes. | Listens |
“Was there anything you would do differently?” |
|
Listens | Responds with what actions could be done differently |
Summarizes learner’s comments. Adds additional notes on what could be changed. | Listens |
Mutually agree on a plan of action to create change | |
Thank the learner for participating |
|
Besides the Plus/Delta model being overlayed on this technique, it is critical for the learner to have the first chance at analyzing the performance. Evaluation is a higher-order thinking skill. Allowing the learner to provide the first analysis of the activity is good practice on becoming a reflective practitioner. This is a life-skill that our learners need to develop.
As an instructor, it is tough to resist just jumping in and providing your points first. Show restraint and let the learner evaluate their own performance first. Also, don’t let the learner start with the things they think went “poorly.” Redirect them to review the positives and the things you want them to continue doing. This helps build confidence and lets you conclude the session with the items that need changed.

